I did all the characters and their animations in the froggy game.
The main sprite:
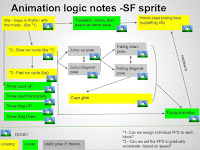
 The first stage of that process was outlining all of the actions he is going to do in a sort of a state machine mockup that I had to run through with Lutfi Couri, who is the main programmer on this project. This exact same thing was done for all of the other 2d and 3d objects in the game that contain animation clips.
The original superfrog sprite served as an inspiration, but I did take quite a few liberties with the character both in terms of design and animation.
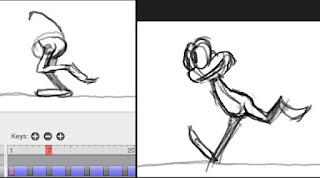
 During the pencil test, I would use layers in order to animate him one set of body parts at a time. The same approach is used in maya with the help of character sets. It's good to start with the root of the action- the torso/spine for example. Then animate on top of it the legs, then the arms, then the head, then the cape and so on. Layers are a good way of experimenting with animation for the different body parts.
Unfortunately pencil doesn't have the ability to duplicate layers, but is otherwise an excellent flipbook app.
 The second stage was to go into toonboom studio, get the pencil tests in there , set the right resolution and form the animation library. Some of the body part animation is frame by frame, some is made by just squashing,stretching and rotating them. A well set up character rig in this case is key to easy pose-to-pose animation process. Sometimes when doing posing my character, I would go and pose the entire body frame to frame.
Third stage - after testing the sprite in the game, making sure it looks alright in perspective with the 3d background + camera angle, making sure the clips blend together alright and are at the right speed... I added some cell shading to it, some highlights, cleaned up the lineart and tweaked some things- then rerendered it.
Some of the animation clips (resized gifs) : run fast,run slow, die
Animation on 3d assets:
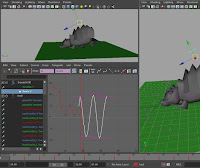
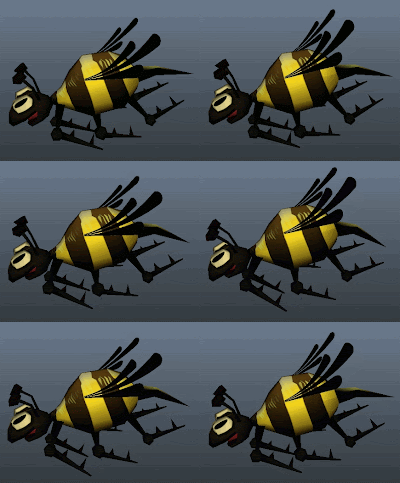
 The enemies in the game were quite fun to do. Very similar in workflow- mockup state machine, do key poses then add secondary motion with some overlaps. It sounds like a lot, but it was very hastily done. I went straight to auto tangent and did very little work on tweaking the curves.
Find the extreme poses of what drives the secondary motion, then create the keyframes around those up and downs. Once they are at the right place, all one needs to do is push the secondary motion by scaling the keyframes on y in the graph editor.

Some more gifs here.
Sarah modelled and textured this mushroom. I changed the model's geometry a bit, then rigged and animated it.
Simple quick mushroom rig:
Made of 3 joints, no blend shapes. Set driven key+ aim constrains.
Problems(hopefully not too visible) When squashing the trunk loses some volume- that couldnt be helped as we cant use blendshapes or waste too many joints to go all around the trunk.
I added some squash and stretch to the head as well, but cant be bothered to update this gif.


No comments:
Post a Comment